Wednesday, April 2, 2014

The Panther Shack

The PTO had a contest at my son's school to rename the school store. The winning submission was "The Panther Shack", love it. I had a few different mock ups of designs for the principal to pick. He choose this giant paw print, which is just great, and being it's a "shack" I thought using reclaimed wood would make the perfect sign!


Here is the finished sign sitting in my living room. Don't mind the horrible floors, we're in the midst of remodeling.


I started with pallet wood and staggered the pieces once they were cut to the desired lengths (by my ever helpful husband)


We screwed them all together with a piece of plywood for stability


I started with a base coat of white, then added a layer of green


Once that was dry I add a little bit of a darker green then sanded it down to give it a worn look.


I cut out a giant paw print in cardstock with the Cameo and traced the pieces onto the wood. That made it really easy to paint the paw print on in proportion. 


Once I stood the sign up I realized it was a little off center, woops. But I came up with a plan to remedy that. Sometimes making a mistake makes you change or add to your project in a way you wouldn't have thought of.


And here's the finished product installed on the school store door. I added the line "school supplies and more..." down the side where I ended up with extra space. I'm very pleased with how it came out and even more pleased by the reactions at school. Go Panther Pride!

The paint I used is Behr from Home Depot. I bought the small sample jars of flat laytex. The lighter shade is called Grassy Field, the darker shade is Vineyard. Once the paint had dried I sprayed a layer of matt coat over the whole thing. The panther head was cut from Oracal black 651 vinyl, the name was cut using Dark Green, and White for the words down the side. It helped to get them to stick by heating the wood with my heat gun first, then once they were applied I melted them in a bit with the heat gun again. It really made it look smooth, seamless and less sticker-like.

Thanks for stopping by!


Friday, March 28, 2014

Mini Albums Blog Hop

Happy Saturday and
Welcome to this months Blog Hop
with
The Creating Blog Hops Cafe'
This month we have made some Mini Albums to share with you. If you have just stopped by to visit with me, thank you and welcome, but please start at the beginning of the hop with our Hostess, Robin Lane with Create-A-LatteWe would not want you to miss any of these wonderful projects.
So, grab yourself a Latte', sit back and hop along with us as we share our projects with you.

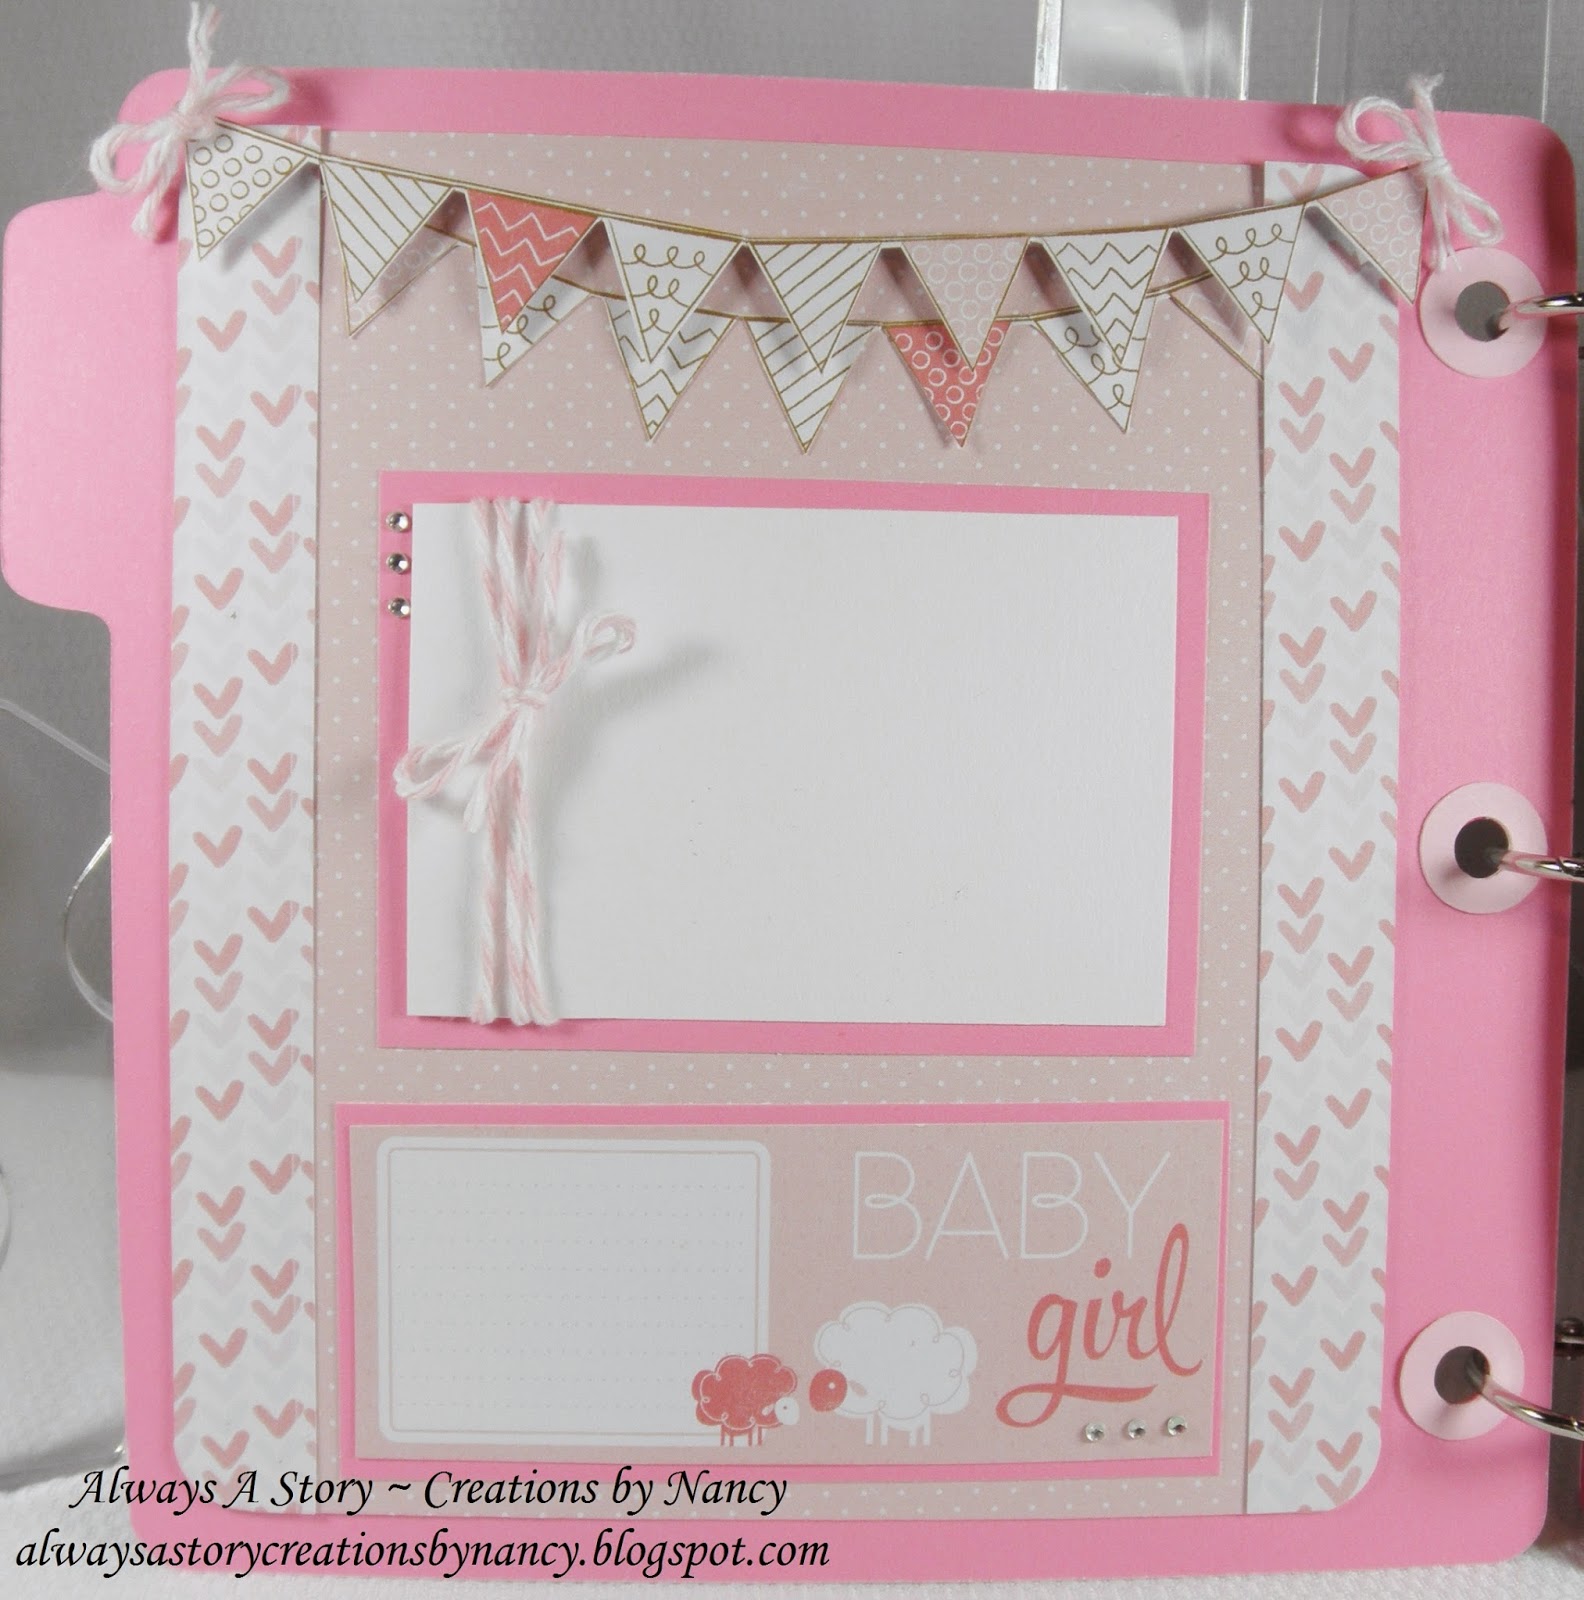
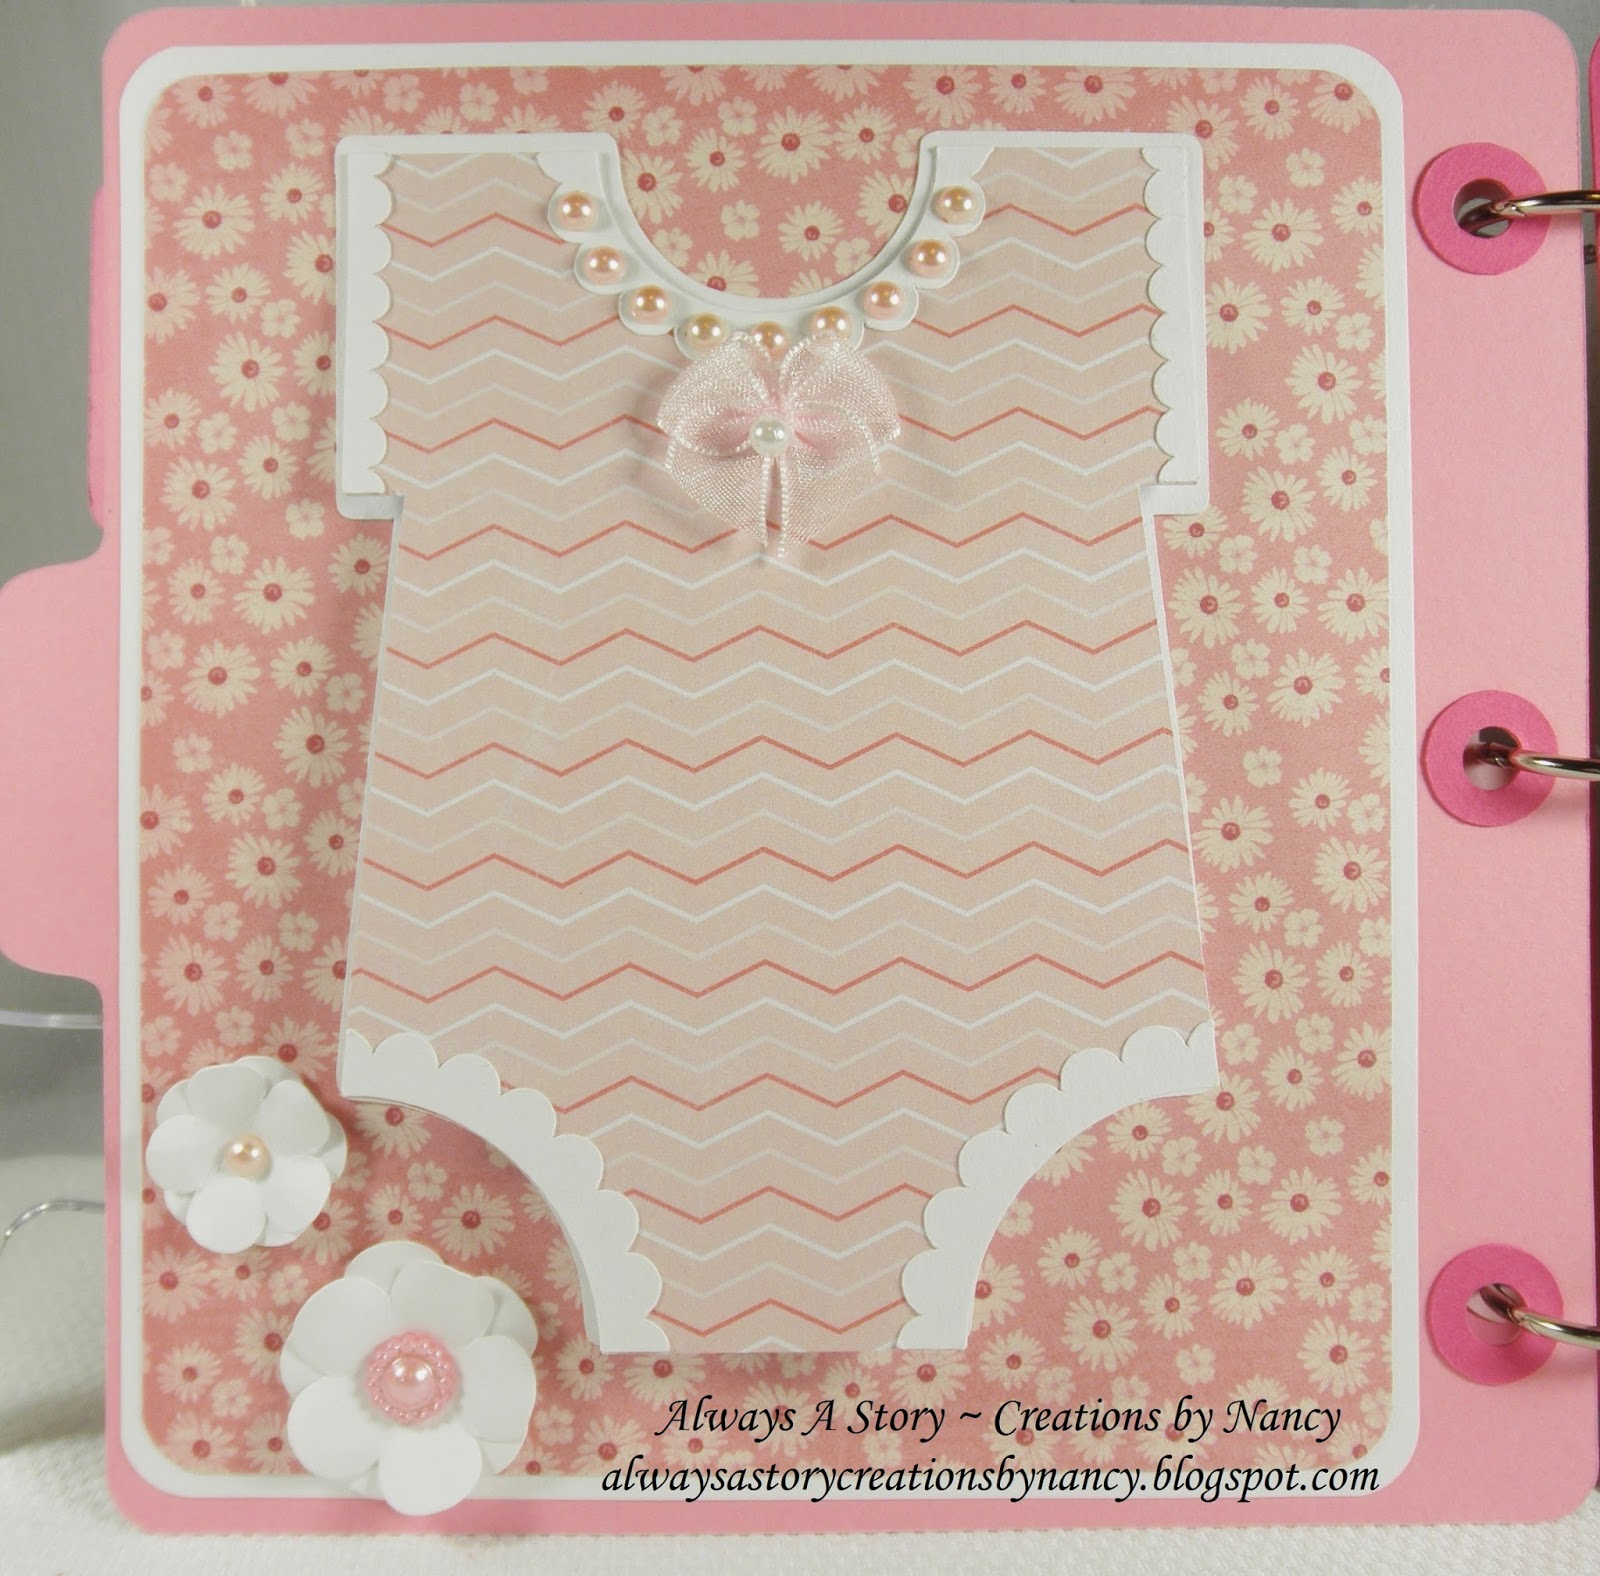
The mini I made started with an album from the Silhouette store, 3-tabbed Mini Album. I used papers from American Crafts "My Baby" 6" x 6" paper pack. Super cute for a baby girl.


This cute elephant is from a set called Zoo Babies from Scraptastical Kreations. Her front legs are popped for added dimension and for even more interest her head is on an action wobble. The ribbons are from Really Reasonable Ribbon.


This cutie is listed in my Etsy store.

This month we have a wonderful Sponsor, Jessica Wilson with Close To My Heart, and she has a fantastic giveaway to share with you today. Jessica is giveaway a Close To My Heart Paper Pack called Lollidoodle.  
Jessica also has a wonderful deal running for the month of April for anyone that joins her CTMH Team in April will receive a Cricut Cartridge Collection of your choice for FREE with the purchase of your New Consultant Kit, that is a $99 value.

Your next stop will be with...

If you get lost along the way here is the entire 
line-up of today's hop for you to get back on track and
not miss a single project.
3-  Miranda Enclade - www.nanasscrapspot.com
4- Cathy Derouche - http://cathyplus5.blogspot.com


Thank you for hoping along with us today and I hope that
we have inspired you to get your craft on.


Friday, February 21, 2014

Pets Blog Hop

Welcome to this month's blog hop with...
The Creating Blog Hops Cafe'

Love is in the air this month, so we wanted to show a little love to a our Fur-Babies.

Here we are in our second month on the last Saturday of the month to inspire you with some wonderful projects. This month's theme is..."Pet's"
So, grab yourself a Latte' and hop along with us while we proudly show off our projects and our Fur-Babies.


Your first stop on the hop will be with...

Robin Lane from Create-A-Latte

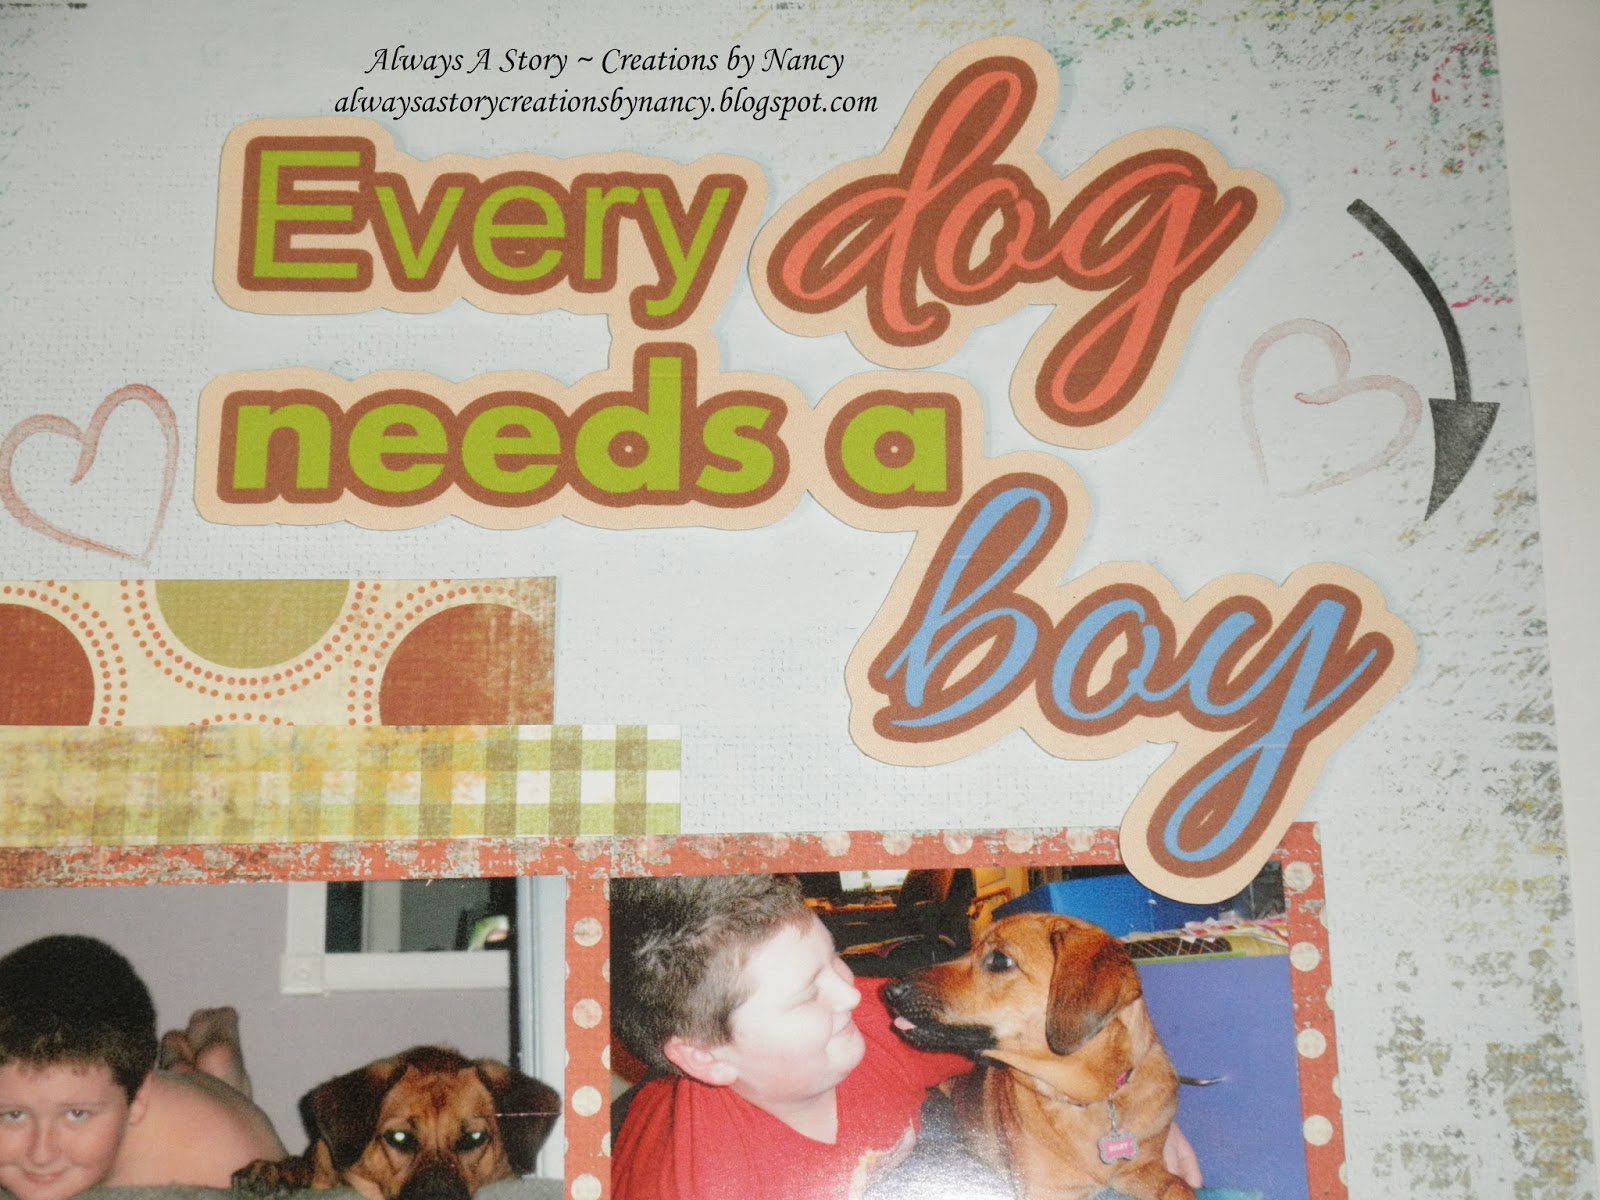
For this month's project I made a layout featuring our son and pup. Feels good to actually get a page done, with recent photos to boot!
 In August we found this little cutie at a rescue shelter. She was originally down in South Carolina in a high kill shelter, one day from her demise. Luckily, Sindee from Sindee's Strays saw her photo and had her brought up to New York which was where we found her. Riley instantly became one of the family much to the dismay of our two 15 year old Maine Coon cats, Zander and Zoe.

A closer look at some details.

A view of the title, it's popped a bit but doesn't show in this photo.


Here are all three of them at a rare moment of getting along. The warm sun had them lulled into their happy places, lol. 

Now, for some candy. This month we will be giving one lucky person two Becky Higgins Project Life Themed Kits, one is the Dogs Kit and the other one is the Cats Kit. For your chance to win this amazing blog candy you must hop through each one of our talented crafters blogs, be sure to leave everyone a little blog lovin', and if you are not already a follower please become one to each of ladies so that you do not miss a single project that they make.


Your next stop will be with...Jearise

If you get lost along the way here is the entire line-up
of today's hop for you to get back on track and not miss a single project. And don't forget to leave everyone a little blog lovin' and become a follower for your chance to win some blog candy.


Thank you for hoping along with us today and I hope that we have inspired you to get your craft on.


Monday, February 3, 2014

LOVE, LOVE, LOVE

February is the month of love, so fittingly for my magnetic board this month I made this "LOVE" Subway art.


I started with a file from the Silhouette store and changed it up a bit to fit my needs. I moved some words, changed some sizes, changed a font or two, and added some hearts and a place for a photo mat. I love, love love, how this came out (see what I did there?). It may just be my favorite board that I've made to date.  

I used my Cameo and HotPaws writing tool to draw the letters and hearts, then colored and doodled them by hand. One small problem was that the rollers tracked some of the ink up and down the page because it wasn't drying fast enough. The white I went over with a black pen and to my surprise I was able to erase the 2 others, nice!

Materials: CTMH 8x8 magnetic frame, black cardstock, "Lots of Love Subway Art" from Silhouette, Gelly Roll pens; White, Metallic Red, and Silver Shadow Pink and The Paper Studio papers for the photo mat.

Thanks for stopping by today, hope I've inspired you in some way!

Friday, January 24, 2014

SNOWFLAKES!

Welcome to...
The Creating Blog Hops Cafe'

Our group is here to inspire you every month with many different projects that have been made by some of the most amazing crafters that I know. We are dedicated to be here to inspire you every single month, on the last Saturday of the month, all year long. Whether it be a specific theme, season, or event.  So, grab yourself a Latte and hop along with us while we proudly show off our projects to you each and every month.

Your first stop along this hop will be with Robin Lane at Create-A-Latte . If you just happened upon my blog today be sure to start with Robin, you're not going to want to miss one single flake!

For my project I made a fun card. And well, some of my best friends are flakes, lol! 

I popped the flakes for a little added dimension.


I also whipped up a coordinating envelope.  

The papers, crystals and button are all from The Paper Studio, snowflakes are from Scraptastical Kreations (A Polarized Christmas), Peachy Keen faces are stamped on the flakes, Really Reasonable Ribbon is where I get the pretty satin ribbon, and white gel pen. The sentiment I created using print and cut with the Cameo.
This cuties' been listed in my Etsy shop: check it out here

I'm entering this card into the Red Carpet Studio Snow Buddies Challenge

Now, for some candy. This month we will be giving one lucky person a Becky Higgins Project Life Season's Mini Kit. For your chance to win this amazing blog candy you must hop through each one of our talented crafters blogs, be sure to leave everyone a little blog lovin', and if you are not already a follower please become one to each of ladies so that you do not miss a single project that they make.  

Your next stop will be with...
Lucy Kelleher with - http://love2createitall.com
  
If you get lost along the way here is the entire 
line-up of today's hop for you to get back on track and not miss a single project. And don't forget to leave everyone a little blog lovin' and become a follower for your chance to win some blog candy. 


1.  Robin Lane with - http://create-a-latte.blogspot.com


3.  Aisha Hall with - www.londonskyedesigns.net


7.  Ann Strecko Koeman with - http://annmakes.blogspot.com

8.  Cathy Derouche with - http://cathyplus5.blogspot.com/

9.  Candice Fields with - http://stampinpearls.blogspot.com

10.  Tami Smith with - http://scrappinmykids.blogspot.com/

11.  Nancy Kirkup with - http://alwaysastorycreationsbynancy.blogspot.com/ **you are here**

12.  Lucy Kelleher with - http://love2createitall.com **up next**

13.  Robin Scott with - www.scrapandchat.blogspot.com/

14.  Jessica Wilson with - http://craftinandstampin.blogspot.com

15.  NannĂ© Harry with - http://nannes-creations.blogspot.com

16.  Angela Chamness with - http://angelascraftyspot.blogspot.com/

17.  Jearise Havenga with - http://lorbysworld.blogspot.com


Thank you for hopping along with us today and helping us to start our hopping year with a bang!

Sealed With a Kiss

How about a cute little Valentine card? I made this shaped Valentine for someone special and I really think she will love it...even though his whiskers look a little funky to me. For some reason I never seem to draw whiskers very well, I should probably just leave them off or use something else, lol.

I used "Sealed With a Kiss" cutting file from Little Scrap of Heaven Designs. Once I had the pieces arranged on my screen I made an off set, mirrored that image above, then welded to make the card. Pretty cute little fella. Additional supplies used: Peachy Keen Stamps, various inks and chalks, The Paper Studio papers, and some twine.

I'm entering this into the following challenges:


Thanks for stopping by!

Tuesday, January 14, 2014

Set of 4 Paper Flower Gift Tags

It's with a bit of sadness I post this next project. For the past 2 years I have been a member of Scraptastical Kreations Design Team and this will be my last project as a DT member.

One of my favorite files of Kristy's to work with is her flowers. Having been a floral designer for a better part of my life I find great pleasure in bringing paper flowers to life. I've created this set of flowers as gift tags which can be used for an array of occasions. I used my cameo to make a trace of the flower, duplicated it then welded it to make a shaped card which opens. The inside has been left blank for any sentiment to be written.

This set is for sale in my Etsy shop. I'd love for you to stop by and take a peek!


The cutting files are from Scraptastical Kreations, "Fancy Flowers" and "Flower Freebie", the stamens are McGill punch, and the center of each flower is a pearl from Miriam's Crafting Supplies.


I'm entering these cards into:

Thanks for taking the time to stop by today!

Valentine Door Decor

I had a few different ideas swirling around of what I wanted to make this year for my front door (thank you Pinterest!). Then I was browsing through AC Moore to see what I could find to bring my ideas to life. They had this frame set on sale for $5 and inspiration struck. I had a picture in my head of what I wanted it to look like, it's similar but not exact. Then again when do the things we make ever come out exactly how we pictured  or planned?


As I mentioned the frame is from AC Moore, the letters and corner flourishes are done in 651 vinyl (files from Silhouette), the metal decoration is from Miriams Craft Supplies, I used a piece of tulle to make the bow and various gems and buttons for embellishment.

Overall I'm pleased with how it came out, a little something different. Thanks for stopping by!